| AN
Fitting 101 |
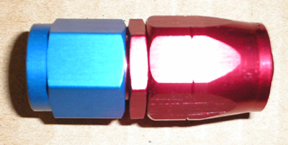
| This article will provide basic AN fitting information and also discuss how to assemble AN hose ends onto braided hoses. AN fittings are commonly used to make custom plumbing for fuel, oil, coolant etc. on race cars or modified street cars where the factory pluming needed to be re-routed or increased in size. The origin is actually in the military and aerospace industry and "AN" actually stands for Army/Navy.
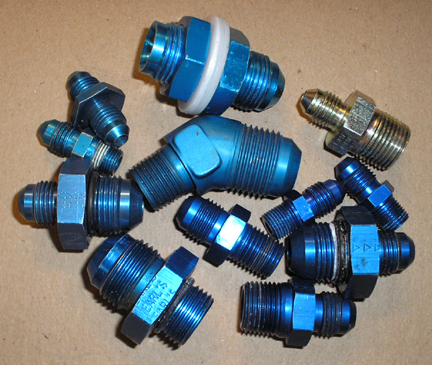
For the automotive aftermarket, there are several companies that provide AN fittings. Aeroquip brings the latest in fitting and hose technology straight from their aerospace catalog. Earl's fittings is one of the Holly companies, Russell makes them too, and even Summit Racing has their house brand, which is probably the most cost effective option. Sometimes you need to get a certain size fitting for something and have to buy one or two from different manufacturers than the rest of your fittings. The good news is that they are all interchangeable with the only concern being that they might not look exactly the same. AN sizes are fairly easy to understand as long as you remember the rule of thumb that the AN size is the number of 1/16" that the hose is. For example, -04 = 4 x 1/16" = 1/4" hose... or -10 = 10 x 1/16" = 5/8" hose. Once you figure out what size you need, you just have to match up the same numbers of the fittings and hose together. Hose ends typically come in straight, 45°, 90°, 120°, and 180° bends. Also, the fittings that your hose ends will attach to are available in angles as well. The fittings will typically have a AN nipple on one side and a NPT (National Pipe Thread) fitting on the other side. Most OEM fittings are NPT so when the AN hoses are used, you need these adapters.
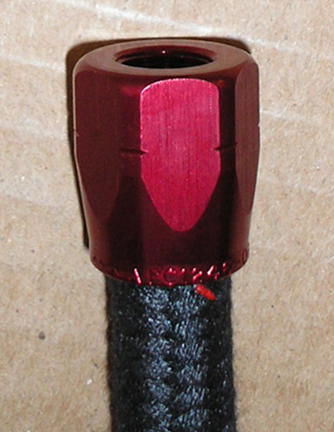
Materials... The hose ends are typically aluminum but can also be made of stainless steel for higher temperature applications. The hose is made of rubber and is clad with either braided stainless steel or braided Kevlar. The trade off is that stainless is more cost effective, however Kevlar is much lighter and easier to work with. I am not sure about all manufacturers, however for Aeroquip, both are NHRA /IHRA and other sanctioning body approved. |
|
Hose end installation Time... STEP ONE: Gather the correct hose end fittings that you want and dry fit them where you want them to go. Now take your length of the correct size hose, route it between the fittings and mark how long you want it. This is the best way to ensure that the hose will end up being the correct size |
|
STEP TWO: Cut the hose. The best way that I like to cut the braided stainless is to wrap electrical tape tightly around where you want to cut it and slice through the tape with a pneumatic cut-off wheel. The tape is to keep the braid from unraveling in subsequent steps. Braided Kevlar is a million times easier if you have a hose cutter. You just simply cut it like regular rubber hose, no tape required. |
 |
|
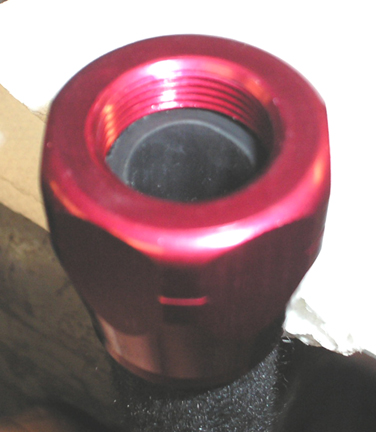
STEP THREE: Start this step by making sure that there is no particulate inside the hose from cutting it. Disassemble the fitting, it should not be more than finger tight. Take the hose collar portion and slide it all of the way onto the hose - it should only go on so far. Smaller hoses like -04 you should take care to make sure that the hose is not in too far, past the ridge that it is supposed to stop against. |
|
|
|
STEP FOUR: Place soft (aluminum, copper, etc) vice jaw pads in your bench vise and also line the vise with quadruple folded paper towel or soft a cloth. Gently tighten the vise on the flats of the collar ensuring not to crush it or mar the anodized finish. Make sure that the end of the collar extends out past the edge of the vise jaws slightly |
 |
|
STEP FIVE: Insert the threaded half of the fitting into the collar and hose. Be sure that it goes inside of the hose and not push it out of the collar. Start threading the fitting together by hand to prevent cross threading and go as far as you can by hand. They make special AN wrenches for this step but I usually use just CAREFULLY use a crescent wrench. |
 |
| Wrench tighten it the rest of the way keeping an eye on the hose to make sure that it doe snot get pushed out. Once the two hexes touch, just make sure that it is snug. If you put too much muscle into it your wrench will round the corners. |
|
|
| Once you get one end done, you can do the other end. Practice makes perfect, especially with the stainless hose. Patience is very important as well.
|


